Moving online with Heroku:
Well heroku is a great cloud platform and most importantly it’s free 😉 So I decided to move our django code to the heroku cloud. I had to make some adjustments to get this done. So I thought it’d be best if I made this one post as a “How to” blog for people who are willing to move their applications to heroku. Please note that I would be talking about only the steps that I followed and this is not a generic guide.
Since I use Ubuntu 18.04 for my development I installed heroku cli using snap
sudo apt update
sudo apt install snap
sudo snap install --classic heroku
Once finished installing, it is time to login into heroku. This opens a browser window for you to login, make sure that you have already signed up for heroku account.
heroku loginOnce logged in, now we can create a heroku app and add its git remote to our existing django project.
cd into_project_root/
heroku create suggestmovie #use some other name
heroku git:remote -a suggestmovie
Now, the heroku is ready to deploy your code but your code is not ready to be deployed. We need to make some changes in order to get there.
1) The first thing to add is a Procfile. Create a file named Procfile and copy-paste the following in it.
web: gunicorn movierecommend.wsgi --log-file -Here, movierecommend is the name of my project.
2) Add the requirements.txt. This file tells heroku what dependencies it needs to install to run the Django app. Now if you are using any virtual environment then pip freeze should suffice. But if you are like me and install and use all the python code directly then pip freeze adds some unnecessary files to requirements.txt. There is a software called pipreqs that helps in this scenario. But for this project specifically, these 3 lines in the requirements.txt file is enough
Django==2.2.2
gunicorn
django-heroku
3) Disabling collectstatic: Now, this is a very project specific requirement. For all the UI related imports like mdl and bootstrap I am using CDN and all the content related imports will also be done using URLs. Since now or in near future there is no intention of using static files like images, js, css, I am putting collectstatic to a hold. This can be changed if used later
heroku config:set DISABLE_COLLECTSTATIC=14) Using heroku settings: This is code related change in the settings.py of the project root application folder. One the first line import django_heroku and on the last line add
django_heroku.settings(locals())This code change solves an important problem: The Database. We are currently using SQLite3 as our DBMS. In heroku, what this does is it creates a file whenever it runs migrate. But those files don’t persist which makes the application absolutely useless.
Now it is time to commit these changes (same git commands) and then push them using
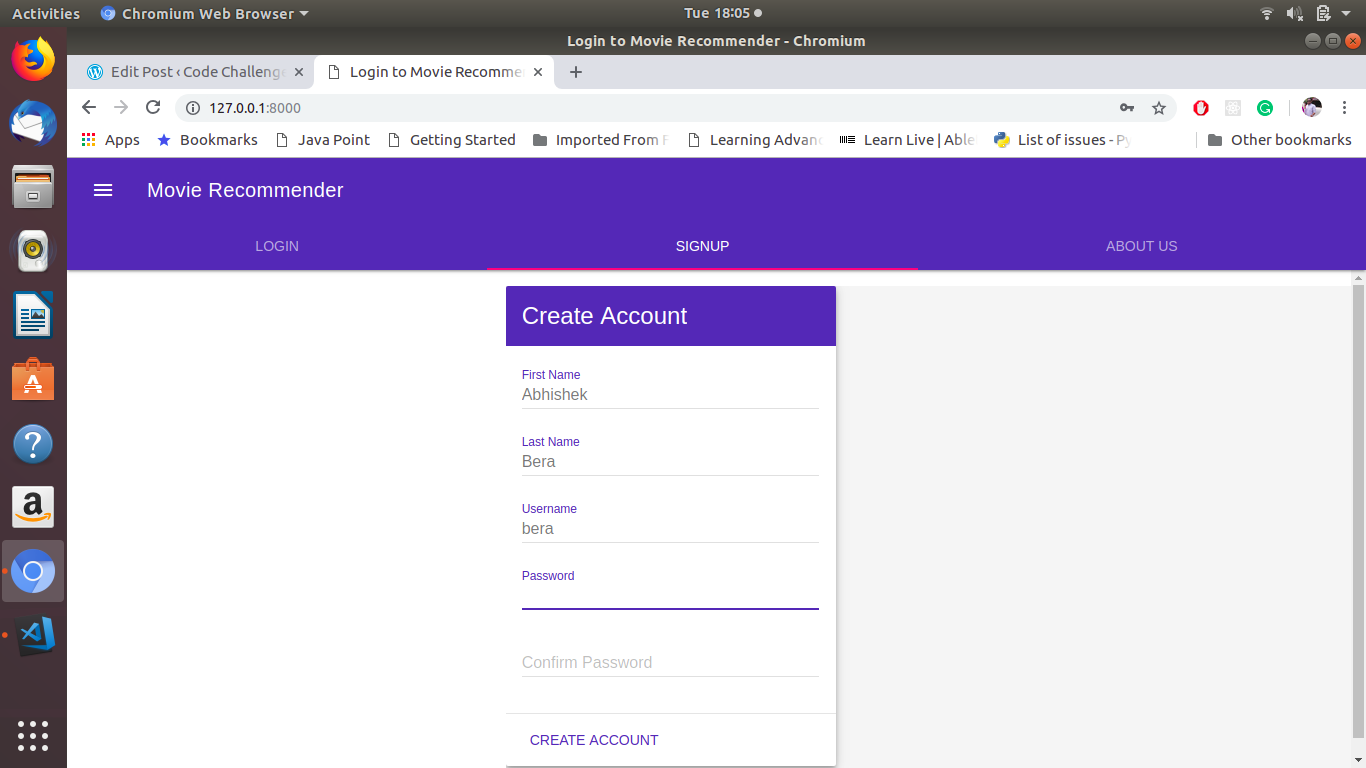
git push heroku masterThis should be enough to load the application. Now you can navigate to your app URL to see the homepage. We are hosting our project at https://suggestmovie.herokuapp.com/. The UI is crappy and we hope to bring some presentable stuff in the next few weeks.
So this was my progress from Day 2 – Day 5.
I signed up for #100daysofcode challenge on LinkedIn and Surya did the same for #100daysofmlcode. But truth be told, I disappeared after the first day and my partner after day 6. But now we have resumed our journey and we are determined towards finishing our target. We have decided to do the ML coding and the server side logic interchangeably so we both can learn the basics of some other technologies. Will keep you posted.